


One of our most popular blog-posts over the last year has been about flower-crown workshops. So I thought I’d give you a how to guide on making your own flower-crown. Lots of our brides this year are wearing flowers in their hair on the big day. I’ve begun gather some of my favourite crowns on a pinterest board so do have a look if your looking for inspiration.

We are also holding a number of flower-crown workshops for hen-parties. It’s such a fun day, to gather with friends and family and get creative, but enough of that and onto my how to guide….
Step 1
Gather your equipment:
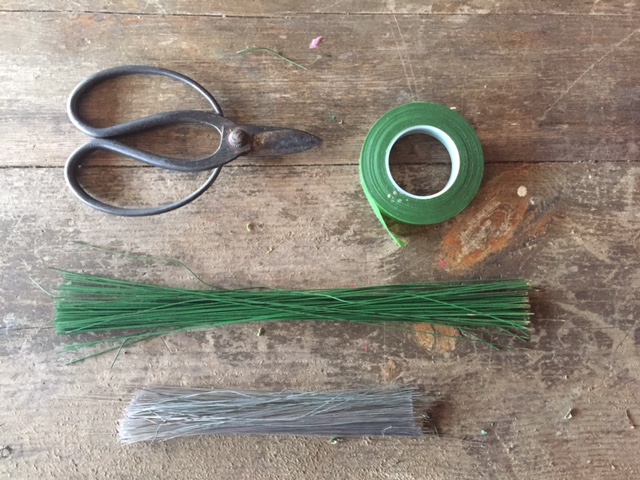
All the needed bits
Get yourself a sturdy pair of scissors, some fine silver wires, some green thicker wires and some floristry tape. All these bits you get here….
Stage 2
Measure your head….
All your flowers and crown
It might look like I’ve jumped a stage but fret not, you need to measure your head. Start by getting a green wire and twisting/wrapping and stretching the green tape round it. You will be surprised by how much the tape stretches and it’s important that it does so everything stays thin and neat. (We don’t want any bulky bits of tape sticking out of our elegant flowers! )
I used three pieces of wire to get the right circumference for my head. Do a loop at one end and the other end you need another loop which you can post through…. (does that make sense?)
Stage 3
Flowers
You’ll see from the picture above, I’m using ivory wax-flower, eucalyptus and spray rose buds. All fairly sturdy stuff…..
Stage 4
Wiring and taping
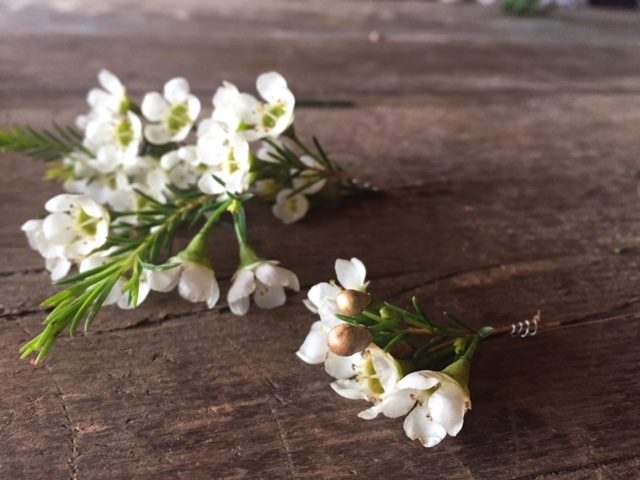
Wax-flower cut short and wired
The first stage is to cut short sections of wax-flower, if you leave stems to long then when your attaching them to the crown they can get very bulky. You can hopefully see below how I’ve wired each piece, you make a hair-pin shape out of a thin silver wire, hold it next to the stem of wax-flower then twist the shorter end of the wire round the stem making sure to tuck the longer end as you wrap.
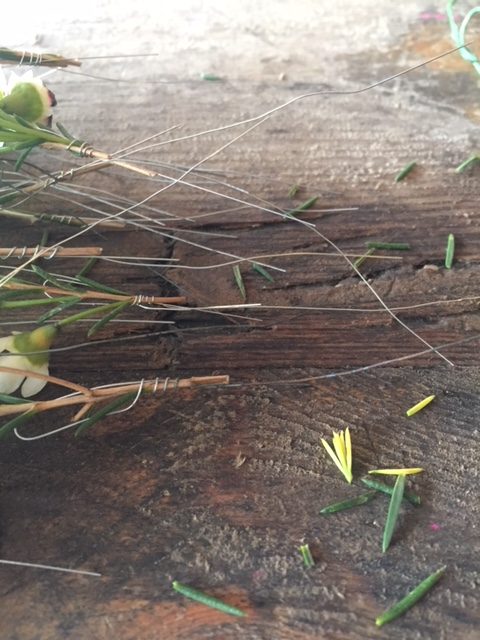
Ends of wax-flower all wired and ready to go

A spray rose wired up
Once you have wired all the flowers the next stage is to tape. As I mentioned in the making of your wire crown base, make sure you stretch the tape as you wrap it round the flowers so it doesn’t get bulky.
Once you’ve taped everything, you can then start taping it onto the wire base.

Start by adding the wax-flower and small pieces of foliage.
You want to lay each piece of flower over the next, your aim is to cover the mechanics of your crown so when it’s on your head, all you can see is flowers.

Continue adding flowers
With this crown, I just wanted to add a small spray of flowers. So as you can see, I did half the crown in wax-flower before I started adding the rose buds. Keep working round until you get to the other end, with spray rose use your eye to judge placement. Its fun to have a play and see what you like the look of, thats half the fun of making the crown!
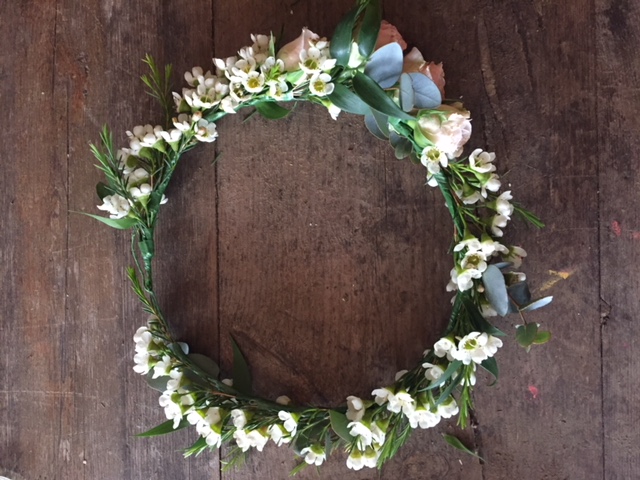
The finished crown